This article will show you how to remove and install the retractable probe tip on the Ultra One and M3 Rev. 1 Printers.
Introduction
In order to maximize up-time with the Ultra One and M3 Rev. 1, users can easily swap the retractable probe tip in and out of the probe assembly. This article covers the proper tools and procedures for removing and installing the retractable probe tip. This may be necessary if the probe tip becomes damaged or bent.
Once you are done installing your retractable probe tip, you will need to reset your Z-offset.
Requirements:
- Time - 5-10 minutes
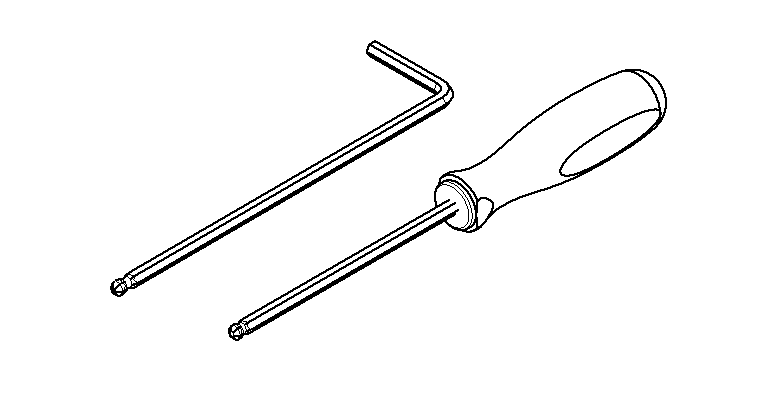
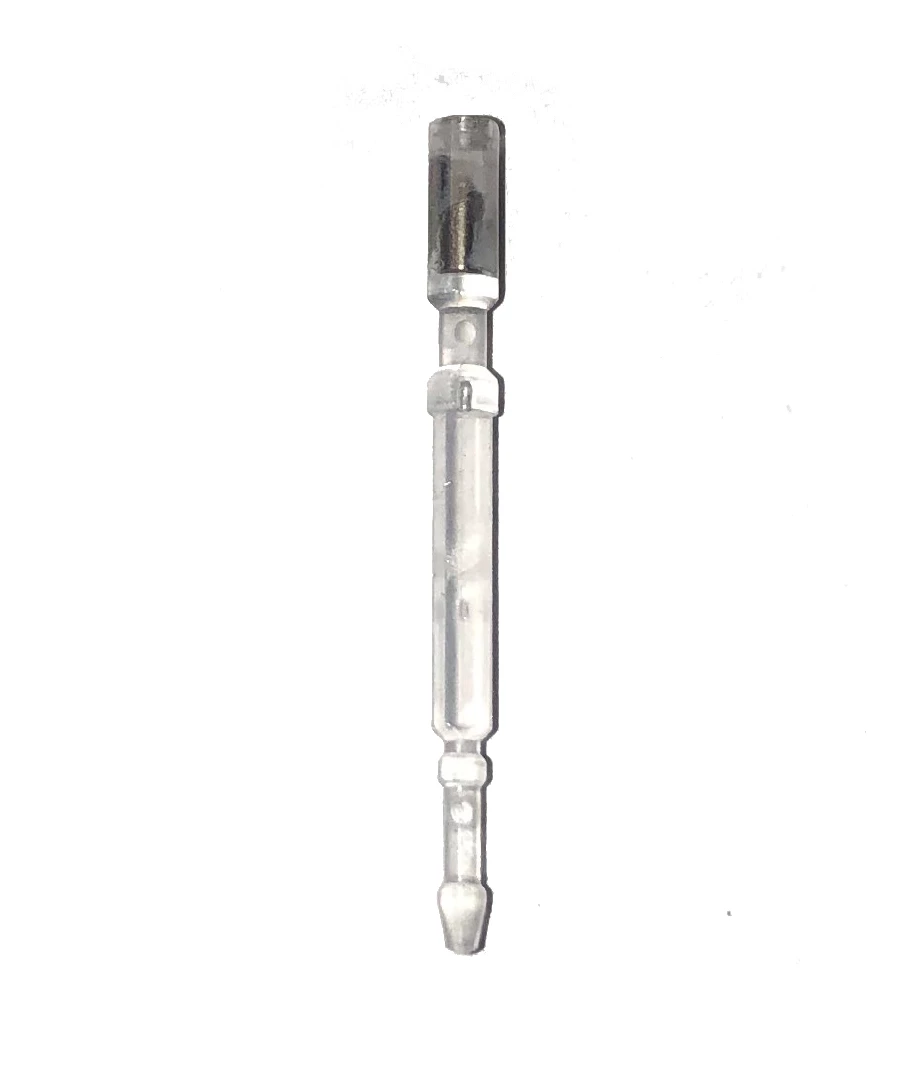
- Tools - BLTouch retractable Probe Tip, 2 mm Hex key wrench or screwdriver
- Software - OctoPrint for MakerGear
Probe Tip Removal and Installation:
There are three screws on the top of the probe assembly, remove the center set screw and push the broken tip up and out. Next, drop in the replacement probe tip and replace the set screw.
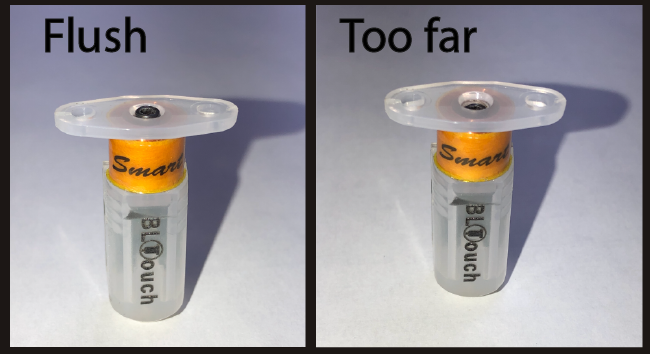
Please note, the set screw should be flush with the probe assembly after installation. If it's inserted too far the probe won't be able to retract (Reference photo below)
Now that your retractable probe tip is reinstalled, be sure to reset the start height using the routines in the Octoprint maintenance tab.
Verify Probe Functionality:
If the retractable probe tip becomes unresponsive, it may help to manually jog the probe with the commands below.
M3:
In the Terminal tab please enter the following:
M280 P1 S10 (this should deploy the probe)
M280 P1 S90 (this should retract the probe)
M280 P1 S120 (this will should make the probe go up and down. M280 P1 S90 to make it stop)
U1:
In the Terminal tab please enter the following:
M280 P7 S160
M280 P7 S10 (this should deploy the probe)
M280 P7 S90 (this should retract the probe)
M280 P7 S120 (this will should make the probe go up and down. M280 P1 S90 to make it stop)