 This article will show you how to remove and install the V4 hot end on the M3-SE and M3-ID 3D printer.
INTRODUCTION
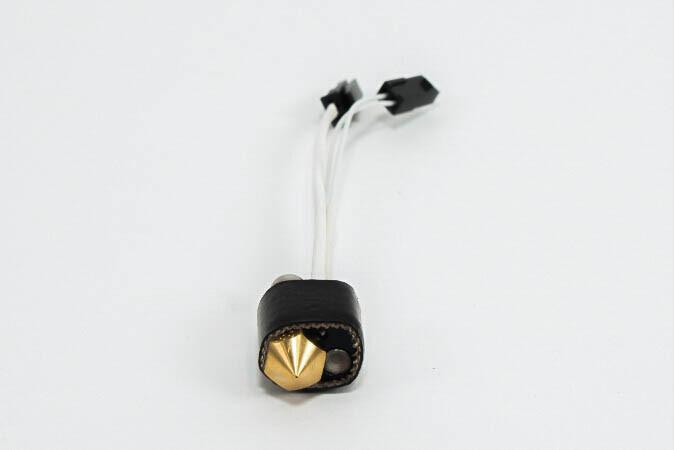
In order to maximize up-time with the MakerGear M3, users can easily swap the V4 hot end in and out of the extruder assembly. This article covers the proper tools and procedures for removing and installing the V4 hot end. This may be necessary if your hot end becomes damaged, clogged, or if you are replacing the nozzle. Please read the following instructions carefully before performing the actual operation to prevent damage to your printer.
Once you are done installing your hotend, you will need to reset your Z offset.
Requirements:
- Time - 10-15 minutes.
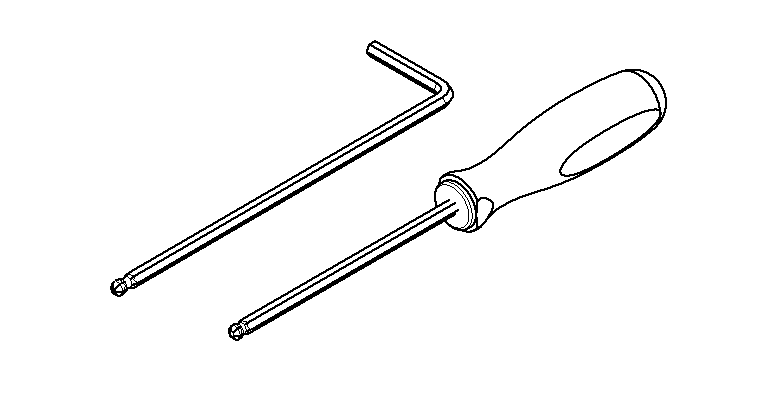
- Hardware -MakerGear M3-SE or M3-ID printer, 2.5 mm Hex key wrench or screwdriver.
- Software - OctoPrint for MakerGear.
Step 1
Remove any filament from the hot end (if you do not have any filament loaded go to step 2)
- Log into OctoPrint.
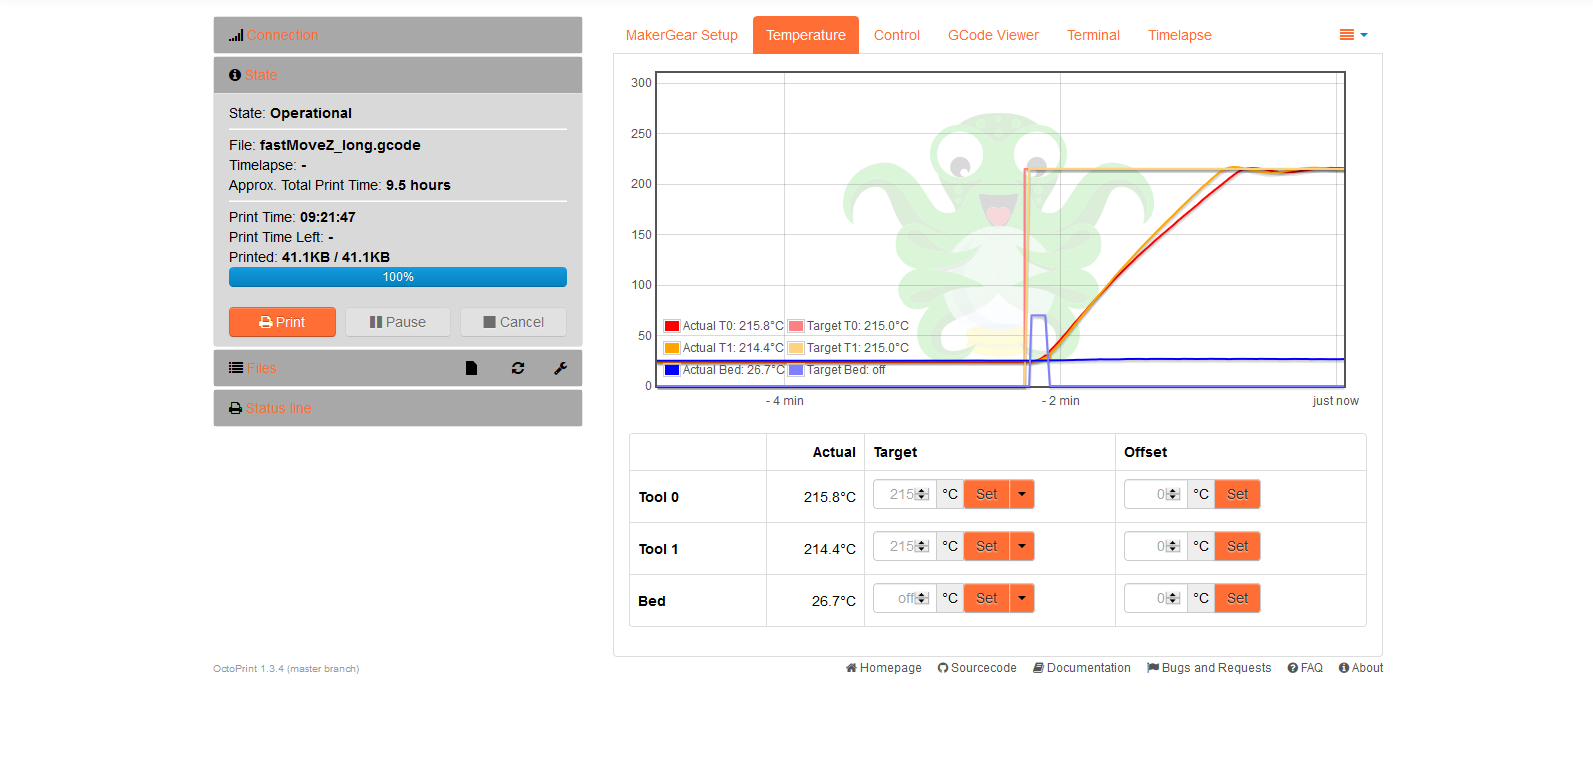
- Navigate to the Temperature Tab.
- Heat your extruder to the operating temperature of the loaded filament.
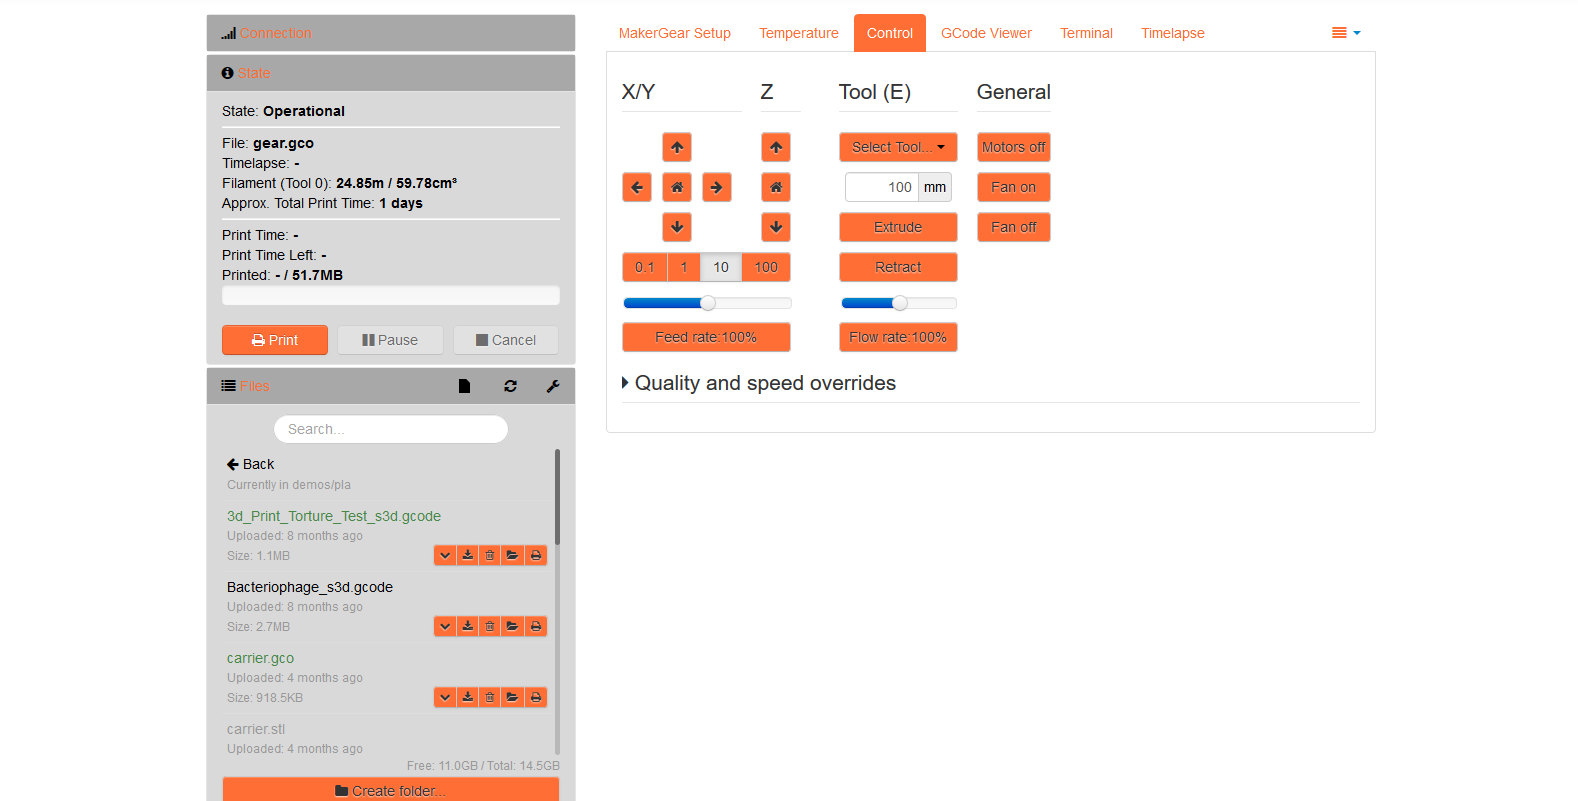
- Navigate to the Control Tab.
- Retract 100 mm of filament.
Step 2
Once the filament has been removed, return to the Temperature Tab. Turn the extruder heater Off.
Wait for the hot end temperature to drop to at least 50°C before continuing - it should take 2~5 minutes.
Once the hot end is below 50°C, M2 users can proceed to the next step; M3 users must follow the M3 shutdown procedure before proceeding.
Step 3
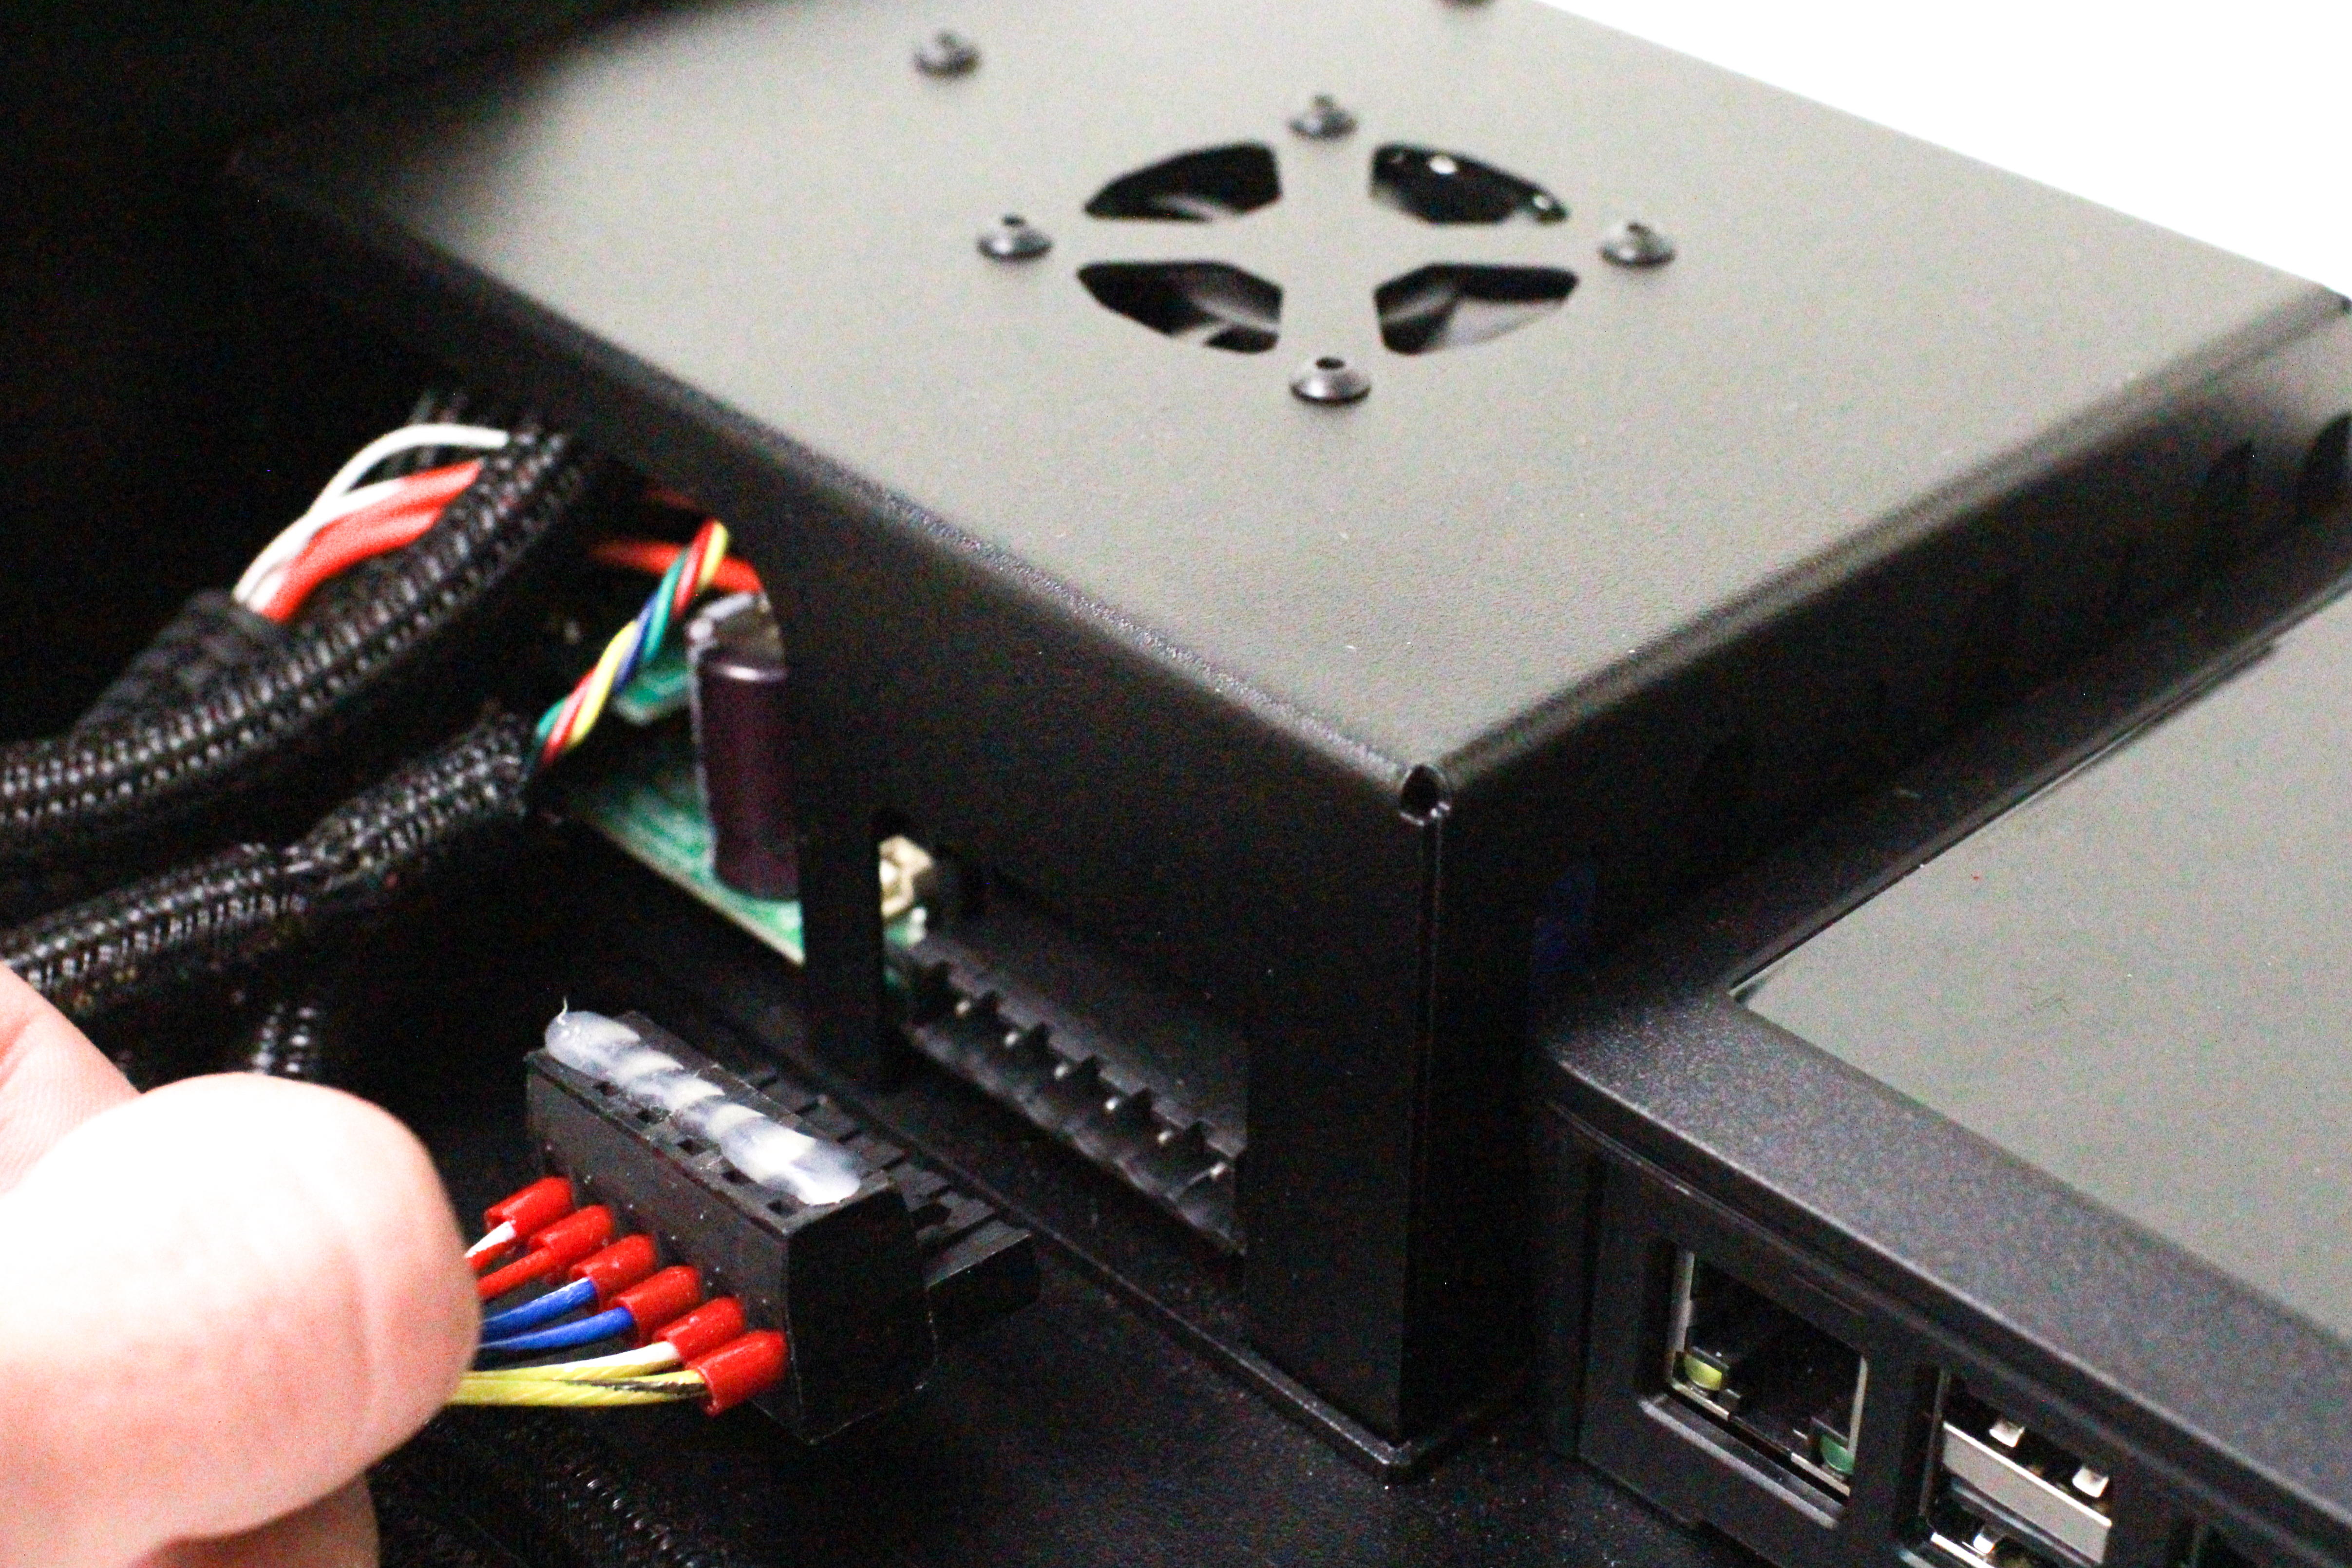
Turn off the 24v power supply then disconnect the 6-pin power connector from the rear of the printer.
Step 4
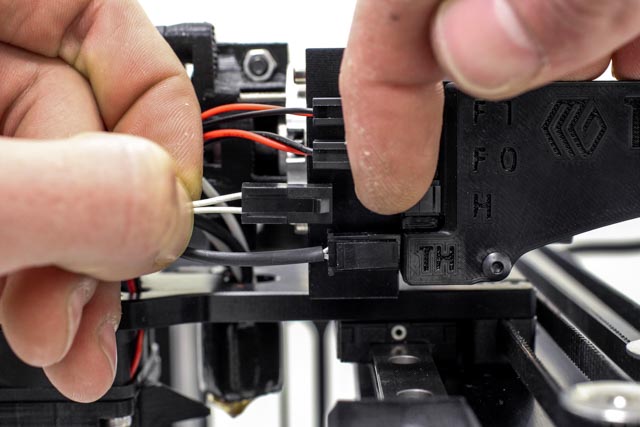
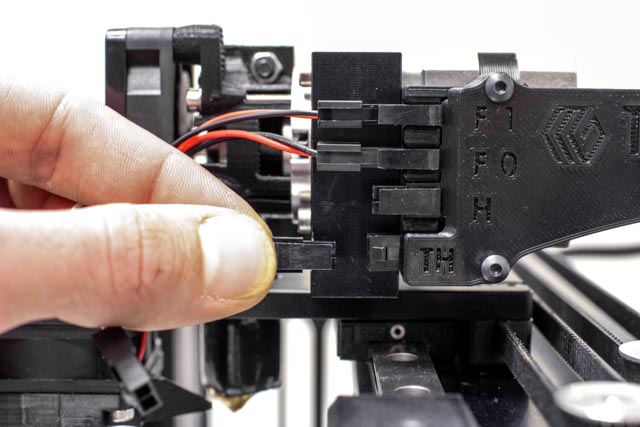
Disconnect the Heater Cartridge connector from the "H" position.
Step 5
Disconnect the Thermistor connector from the "TH" position.
Step 6
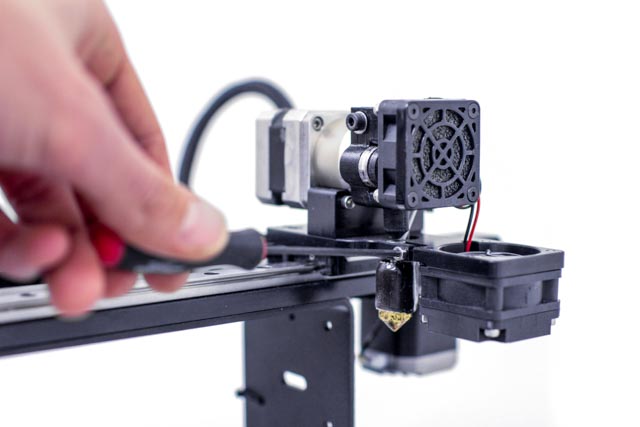
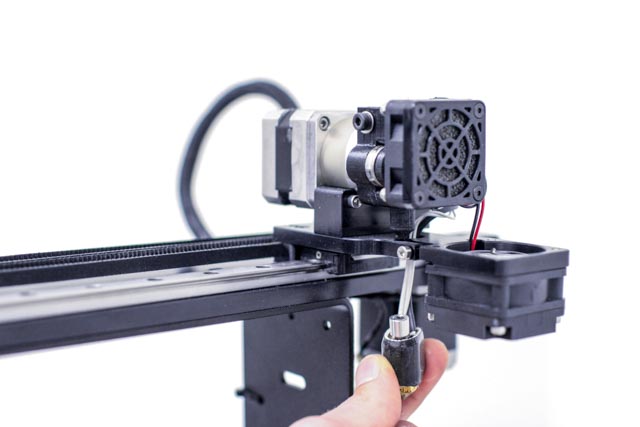
Loosen the hot end clamping screw.
Step 7
Pull the hot end downward in order to remove it from the mounting plate - the fit in the mounting plate is fairly close, so some minor rotating motion may help.
Step 8
Feed both connectors through hole in the mounting plate one at a time; do not attempt to force both connectors through the hole simultaneously.

Congratulations — you have successfully removed the V4 hot end!
Next we will install the V4 Hot End.
We will be using the same tools as in removal process above. As before read the instructions carefully to prevent damage to your printer.
Step 1
Insert the Thermistor (TH) and Heater Cartridge (HO) connectors through the hole on the V4 mounting plate.
Step 2
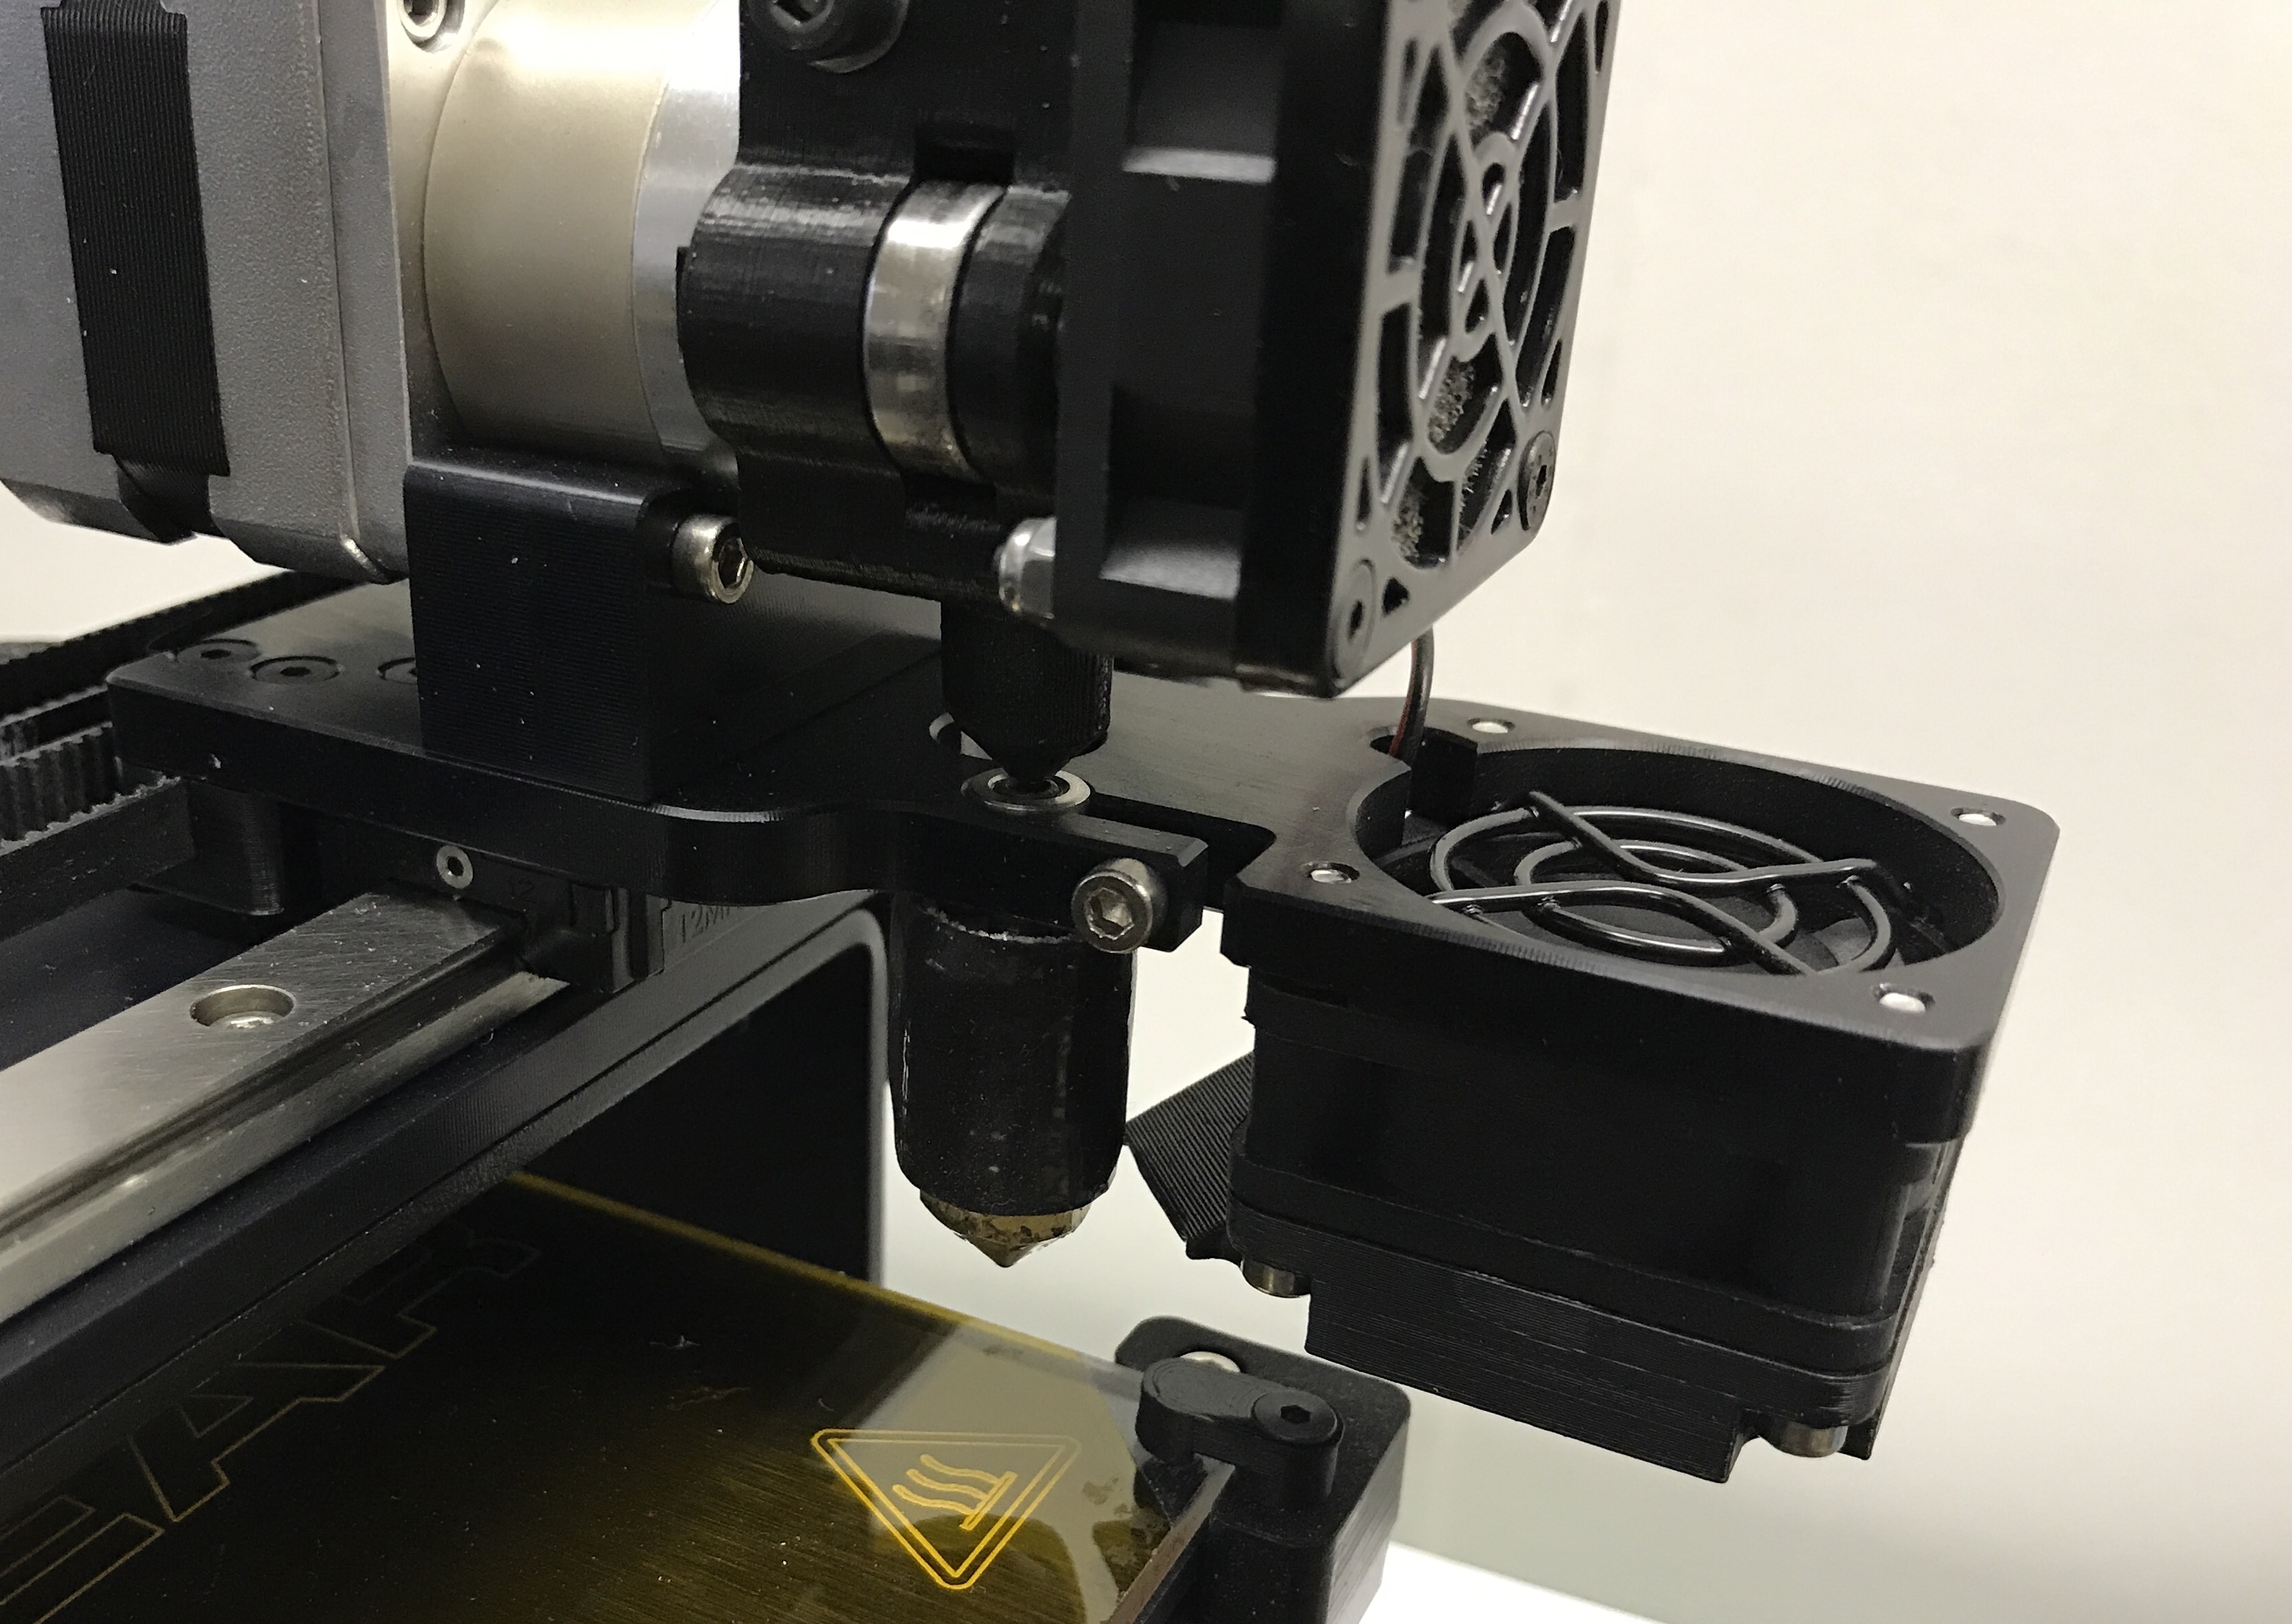
Insert the barrel into the V4 mounting plate ensuring the barrel is flush with the top of the mounting plate.
Step 3
Tighten the hot end clamping screw - this must be completely tight and secure to prevent damage to the printer.
Step 4
Connect the Thermistor connector to the "TH" position.
Step 5
Connect the heater cartridge connector to the "H" position.
Step 6
Connect the 6-pin power connector to the rear of the printer. Then turn on the 24v power supply.
You have successfully reinstalled the V4 hot end on your M3.
Now that your hotend is reinstalled, be sure to reset the start height using the routines in the
Octoprint maintenance tab.