Learn about Connection, State, and Files as part of the Sidebar.
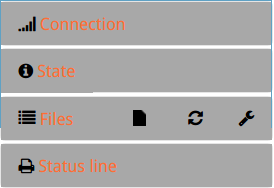 |
The left side of the screen contains the Side Bar. Elements of the sidebar can be expanded or hidden by clicking the title of each individual panel. |
 |
The Connection panel displays the connection between your printer's on-board computer and its control electronics. Your connection settings are preconfigured, so there should be no need to alter anything here.
|
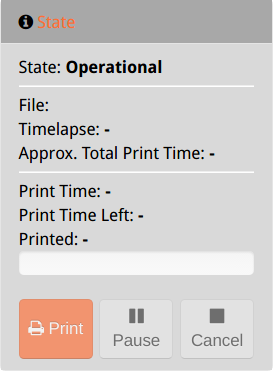 |
When there is no file selected for printing but the printer ready to use, the State panel it will appear like this. If your MakerGear is currently printing or waiting to start the next job, the status is displayed in the State panel. When you login, you can start, stop, or pause a selected file using the buttons in this panel. |
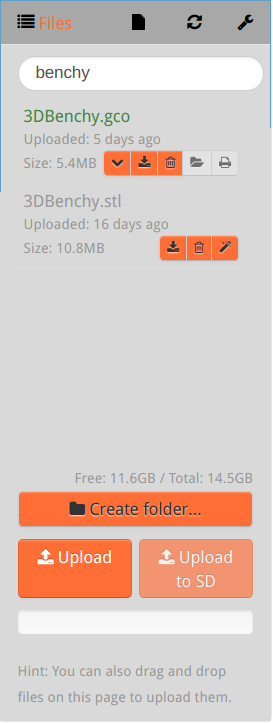 |
The Files panel is a list of the files stored on your printer’s on-board computer. You can upload/download .stl and .gcode files as well as view information about them — each file includes info about file size and when it was uploaded. The buttons on the right side of each file listing are to reveal Additional Data, Download, Delete, Load (select for printing), or Slice and/or Print. You can also search your on-board files by typing in the search field near the top of the panel. Your files list can be sorted in a few ways by clicking the wrench to the right of “Files” Storing files here can be convenient, but your printer does have limited storage. If a file hasn’t been used in a while, you may want to download it and delete it from the printer. This allows you to archive or share those files from your computer. By clicking the magic wand button on the far right-hand side of a file within the Side Bar, you can tell your MakerGear to prepare files for 3D printing using predefined printer/material profiles. This will initiate the default option for handling that file type, which should be slicing using the CuraEngine plugin (other plugins are also available). A .gcode file is created by slicing software (such as CuraEngine, or Simplify3D) and contains instructions for the printer to follow. High-resolution 3D prints tend to have a much larger file size than . Clicking the folder button will load the file, displaying that filename and further details in the State panel. The print button will load and start printing the file as long as the printer is ready. |
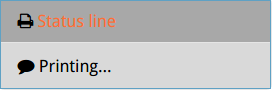 |
Some slicers add status messages to GCode, which are displayed here. For example “Now Printing…” indicates that a print job is currently underway. Due to the ipOnConnect plugin, the IP address of your printer is displayed here at startup, which can be helpful when connecting to your MakerGear across multiple networks. |