Configure an Android tablet for your MakerGear M3.
Introduction
This tutorial is provides step-by-step instructions that will guide you through the process of using an Android tablet to:
- Connect to your MakerGear M3 for the first time.
- Transfer its connection from the M3’s on-board wifi network to your local home/office network.
- Connect to and control your 3D printer using the OctoAndroid app.
Getting Started
Step 1
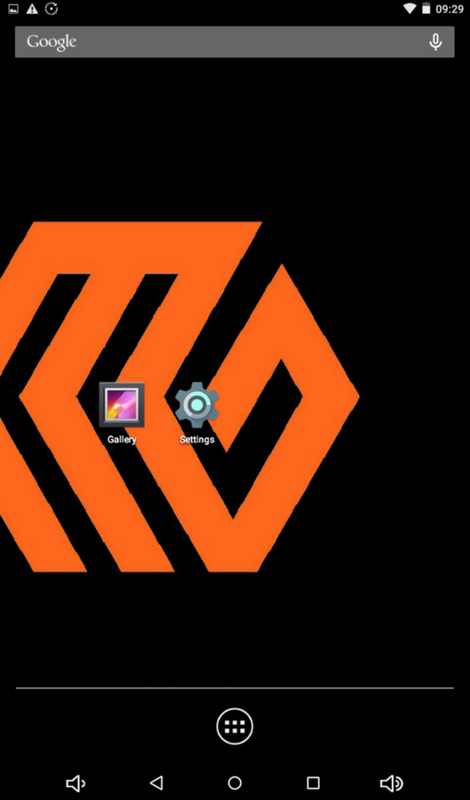
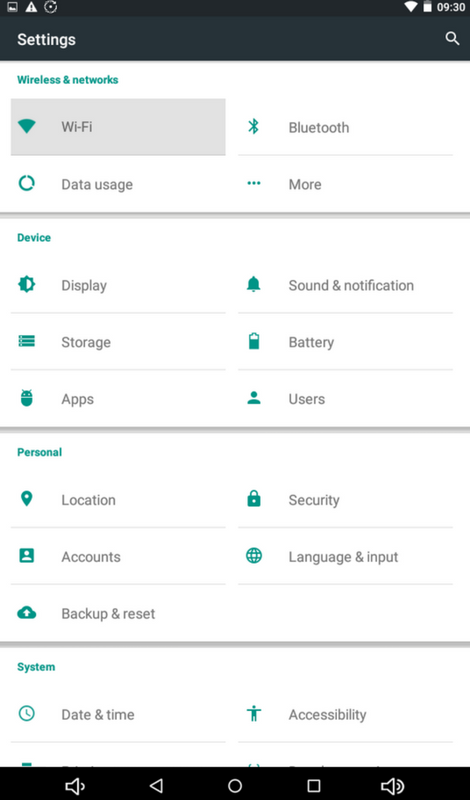
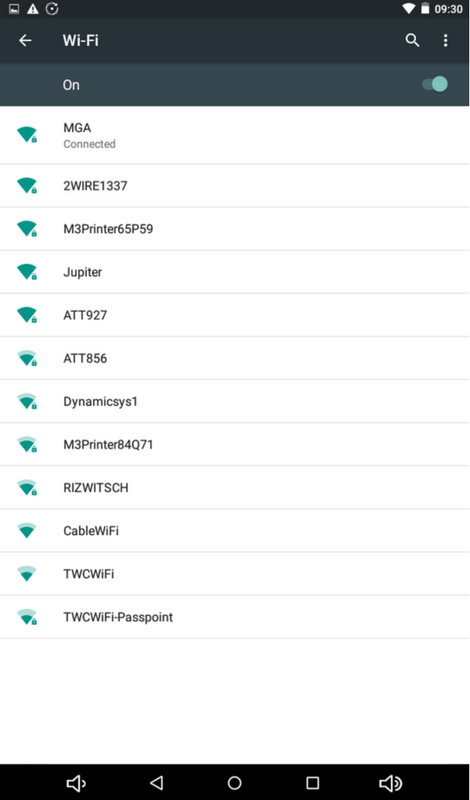
With your Android tablet in-hand, swipe left from the home screen to find and click the “Settings” app, then select “Wifi” from the settings app menu.
Step 2
Find and select your MakerGear M3’s wifi access point, which will read “M3Printer” followed by the last 5 digits of your printer’s serial number (for example, “M3Printer65P59”) — your serial number is located on a black sticker toward the back of the printer.
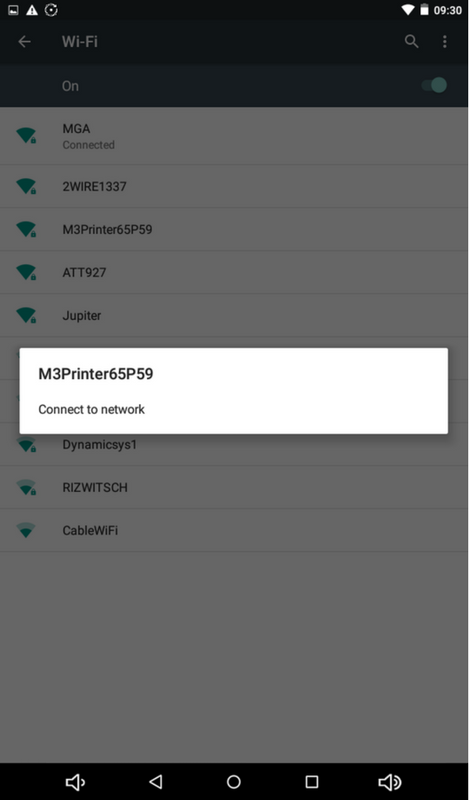
Step 3
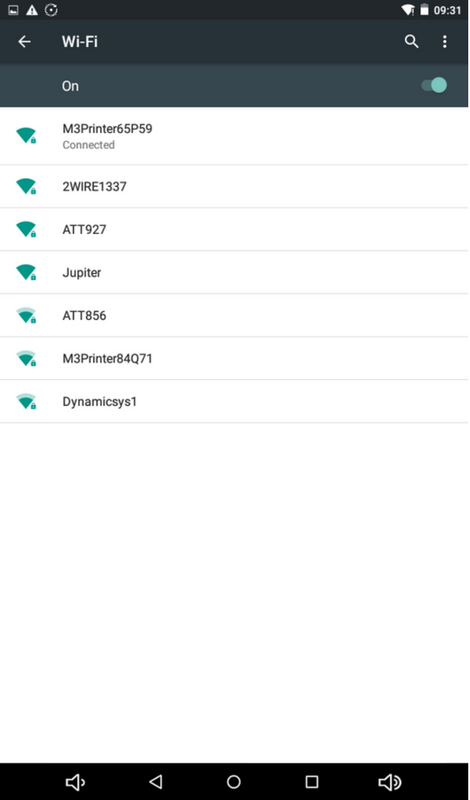
Enter your serial number into the password field, then click “Connect” in order to connect to your M3’s wifi access point — this may take a few moments. Once you’ve successfully connected, the status reading “Obtaining IP address” will change to “Connected”
Step 4
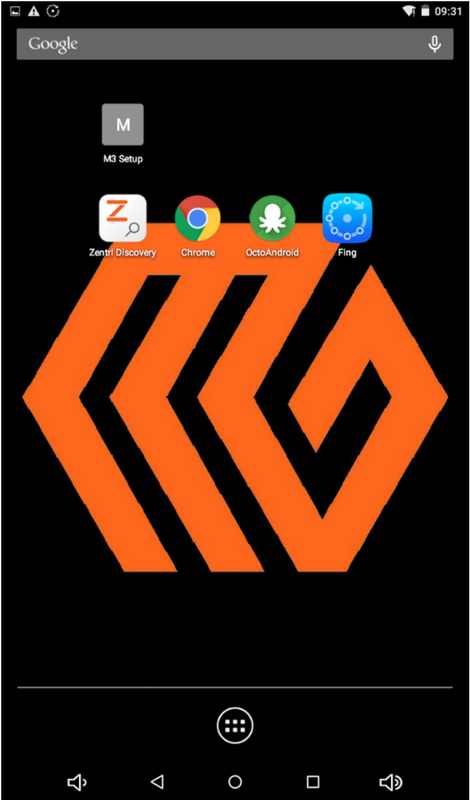
Once connected to your M3’s wifi access point, navigate to your tablet’s home screen and open the “Zentri Discovery” app.
Step 5
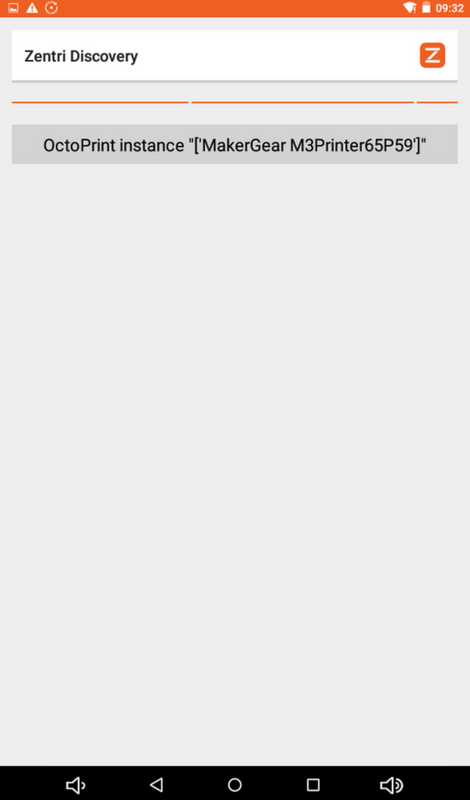
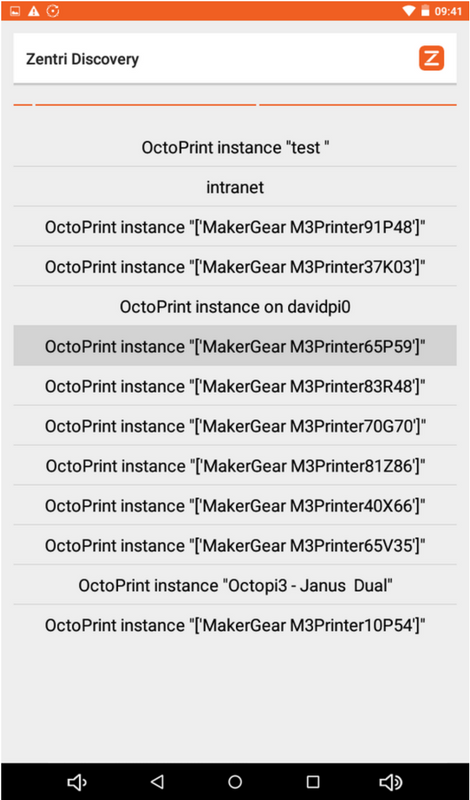
After opening the app, you should immediately see your printer’s name (e.g. “M3Printer65P59”) — select your printer in the "Zentri Discovery" app to open a new tab in Google Chrome in order to bring you to your M3’s control interface: OctoPrint for MakerGear.
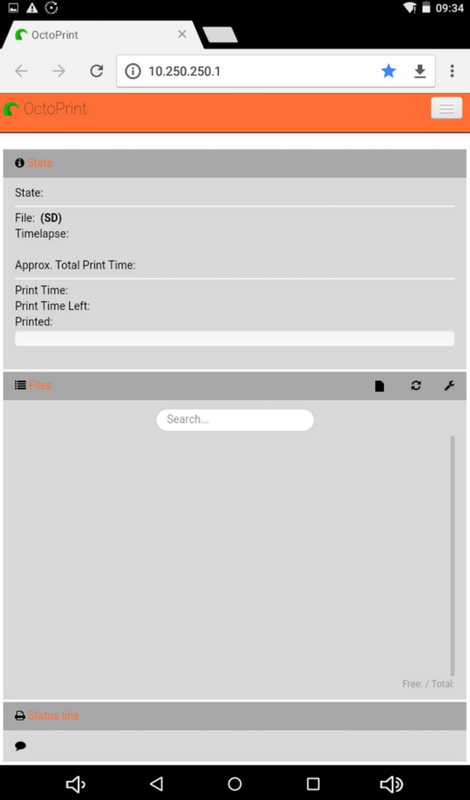
Step 6
From here, select the menu icon located in the upper right-hand corner, then click “Login” before entering your default OctoPrint username and password — your default username is set to “printer”, and your default password is set to your printer’s 8-character serial number (for example, “MQ765P59”). Keep in mind that Octoprint passwords are case-sensitive.
* If the “Username” and “Password” fields do not appear after clicking “Login”, try closing and reopening the menu, or refresh the page.
*Once you have logged in successfully, you’ll see a green notification reading “Login successful. You are now logged in as 'printer'".

Step 7
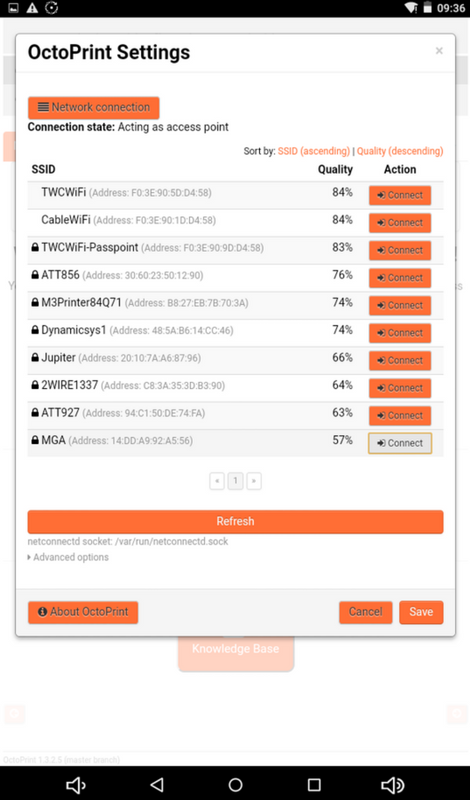
Scroll to the bottom of your control interface to select the “MakerGear Setup” tab, then click “Wireless configuration”.

Step 8
When the list of wifi networks will appears, find and select the local home/office network to which you’d like to connect your M3.
Step 9
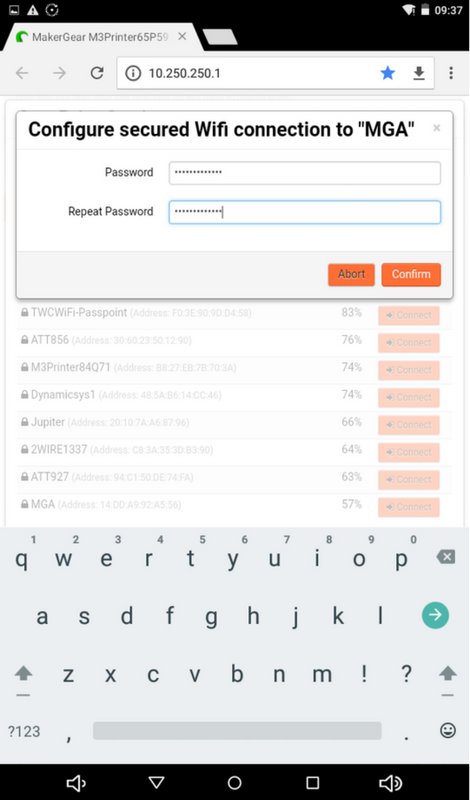
Enter the password for your local home/office network in both fields, then click “Confirm”.
- If your passwords do not match, you’ll see a red notification reading “Passwords do not match”.
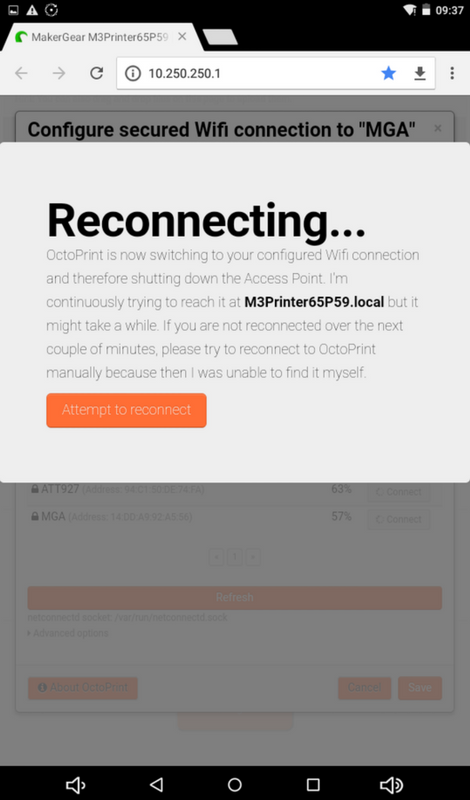
Step 10
After you enter the correct password twice and click “Confirm”, your printer will connect to the local home/office network that you selected and you will be redirected to your printer’s host name (e.g. “http://M3Printer65P59.local”).
* Because Android tablets do not support host names, you must return to the “Zentri Discovery” app in order to access the OctoPrint for MakerGear control interface.
Step 11
Connect your tablet to your local home/office network (in this case, "MGA").
Step 12
Once you’ve re-opened the “Zentri Discovery” app, you’ll see a list of all nearby devices detected by the app. Now select your MakerGear printer (in this case “OctoPrint instance [‘MakerGear M3Printer65P59’]”) in order to navigate to your control interface.
Step 13
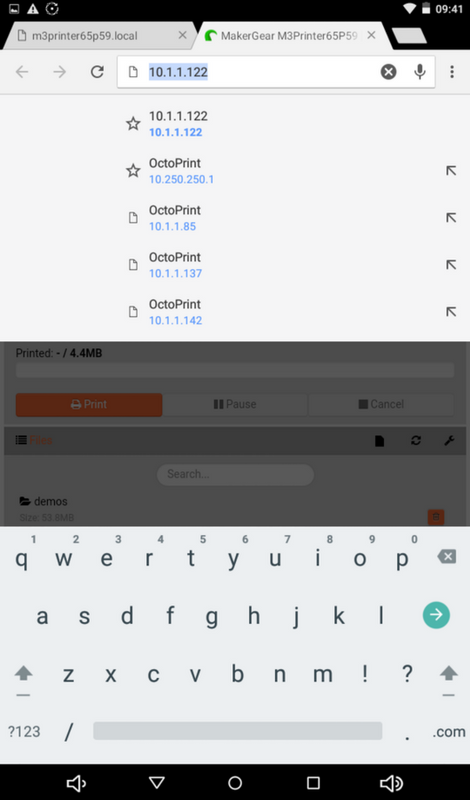
Once you’ve arrived at your printer’s control interface, copy and/or bookmark the IP address.
- Your M3’s IP address will be listed in the top of your browser as a 12-character webpage domain name, in this case “10.1.1.122”) — because android tablets do not support host names, you’ll need to enter this information later in order to control your printer from the OctoAndroid app.
Step 14
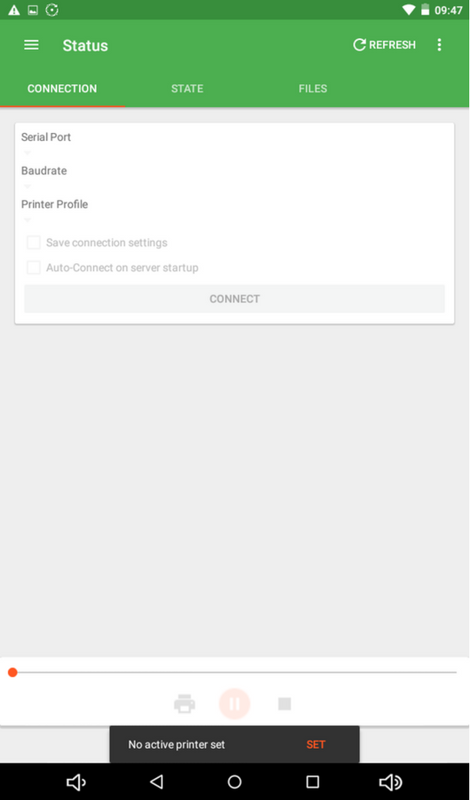
Return to your tablet’s Home screen and open the OctoAndroid app.

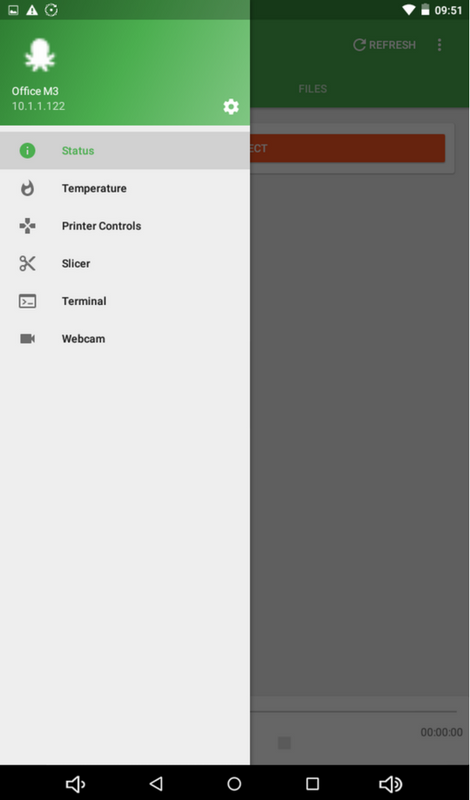
Step 15
Click the Menu icon in the upper left-hand corner of the OctoAndroid app interface, then click the orange Plus Sign icon in order to add your printer.
Step 16
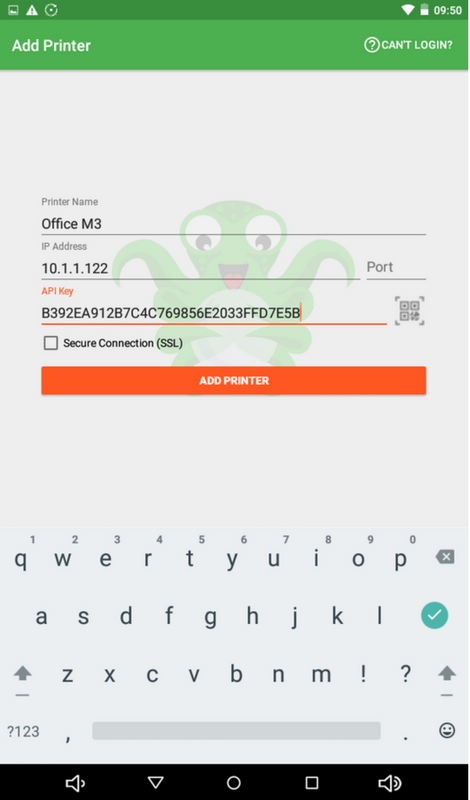
You will be prompted to provide a name, IP address, and API key for your printer. Name your printer whatever you’d like, provide the IP address and API key, then click “Add Printer”
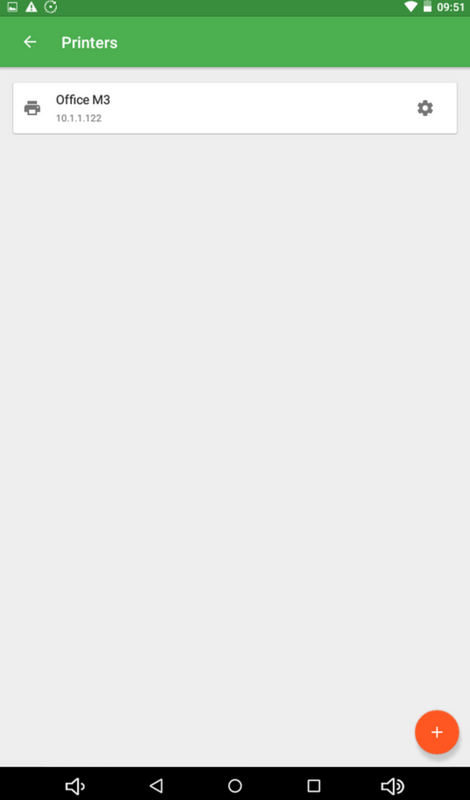
Step 17
Click on your printer (in this case, “Office M3”) in order to access all controls for your MakerGear M3 using the supplied android tablet.