This article will explain the bed space limitations of the Ultra One and how to disable them.
Introduction
The Ultra One has a maximum bed size of 355mm" x 406". However, to ensure that the hotend and probe do not collide with the four bed clips, your print area is limited to a little over 333" x 406". The front 11mm and the back 11mm of the bed are not available for use by default and will not print correctly.
It is possible to let your printer go past these boundaries, however you will be responsible for making sure that your GCode does not cause the printer to go into areas where the probe or nozzle could collide with the bed clip. This includes any travel moves or tool changes.
Requirements:
- Time - 5-10 minutes
- Hardware - Ultra One 3D Printer and a computer.
- Software - Simplify3D and OctoPrint.
What You'll Learn:
- How to edit the starting scripts for the Ultra One.
- How to adjust your printer profile and build volume within OctoPrint.
Before You Begin:
- Follow all "Getting Started" instructions listed in your User Guide.
- Follow all configuration, connection, and login instructions to access your M3's control interface.
- Load filament into the extruder(s).
Getting Started:
Step 1
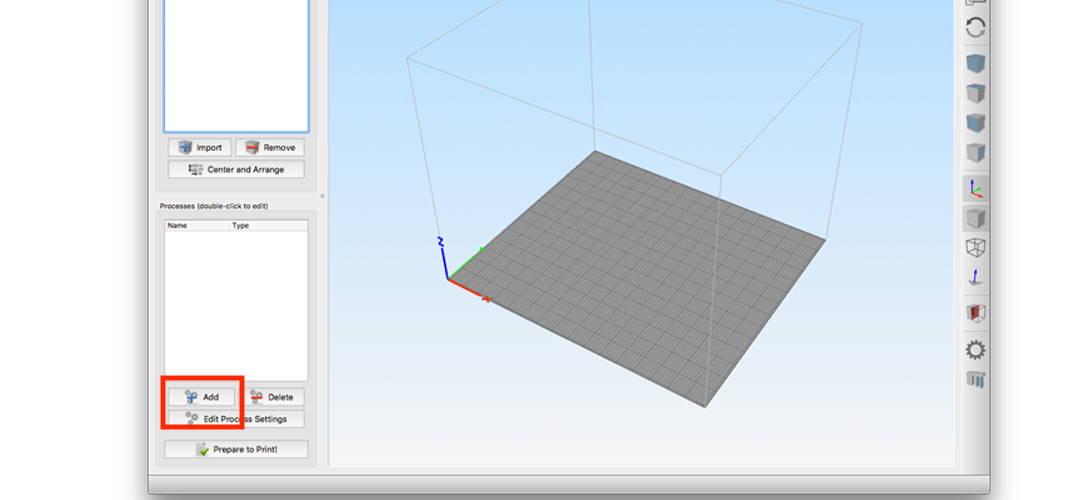
Open Simplify 3D and click 'Add' under the Process
Step 2
If you do not have the advanced settings showing, click 'Show Advanced'.

Step 3
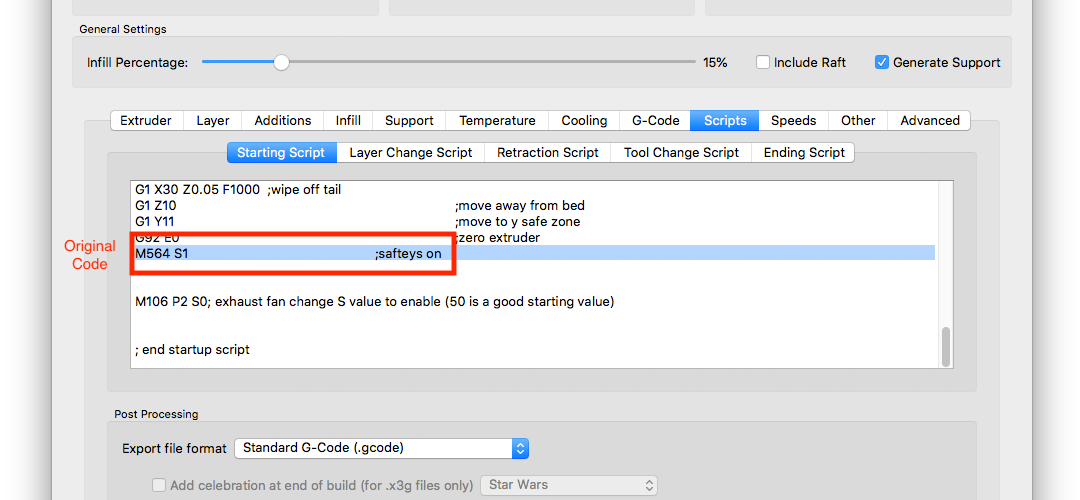
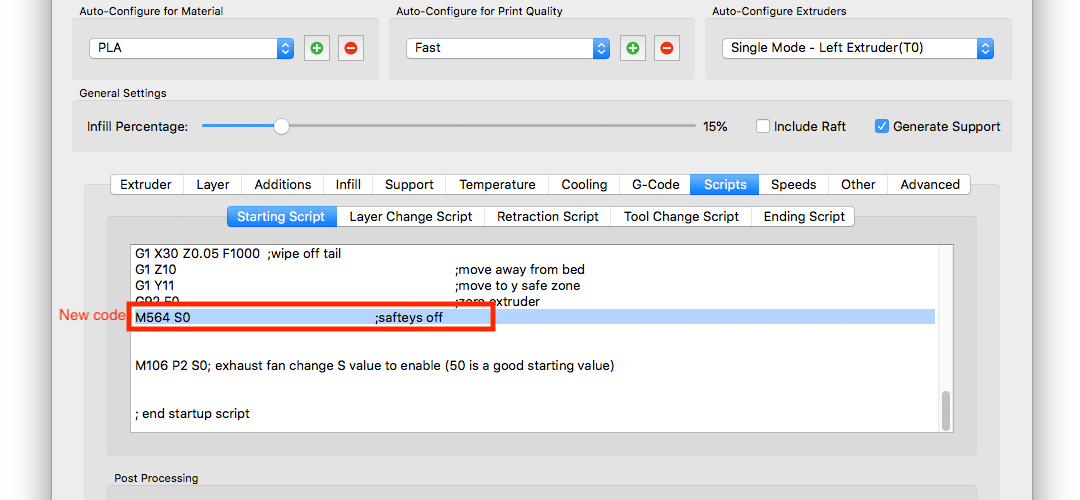
Click on the 'Scripts' tab and then the 'Starting Script' tab underneath that.
Step 4
Scroll to near the bottom of the script. Look for the line
M564 S1 ;safteys on
M564 S0 ;safteys off
Step 5
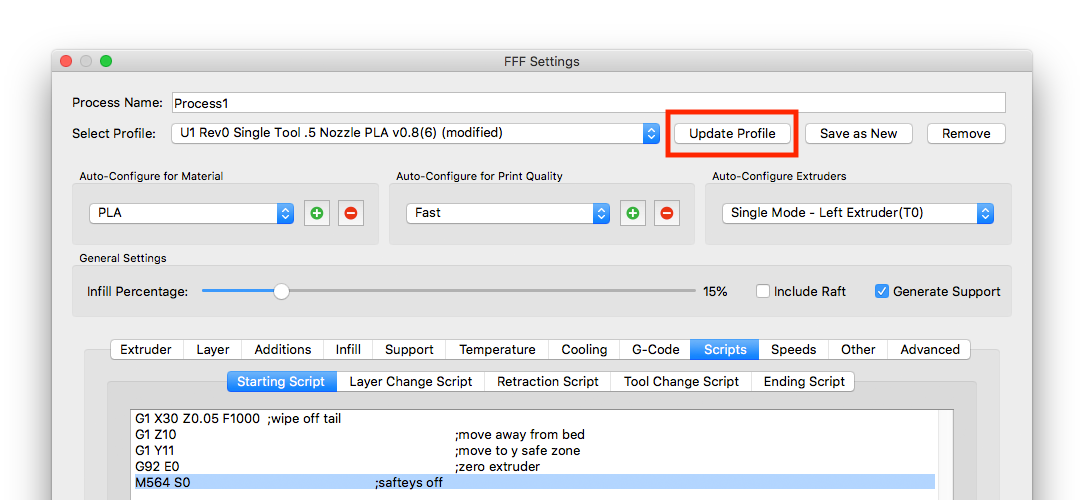
If you want to save this change for future prints, click 'Update Profile' to save the changes. Otherwise the changes will only affect the current process. Keep in mind that you'll need to check your boundaries for all your future prints to make sure they're not colliding with the bed clips.
Step 6
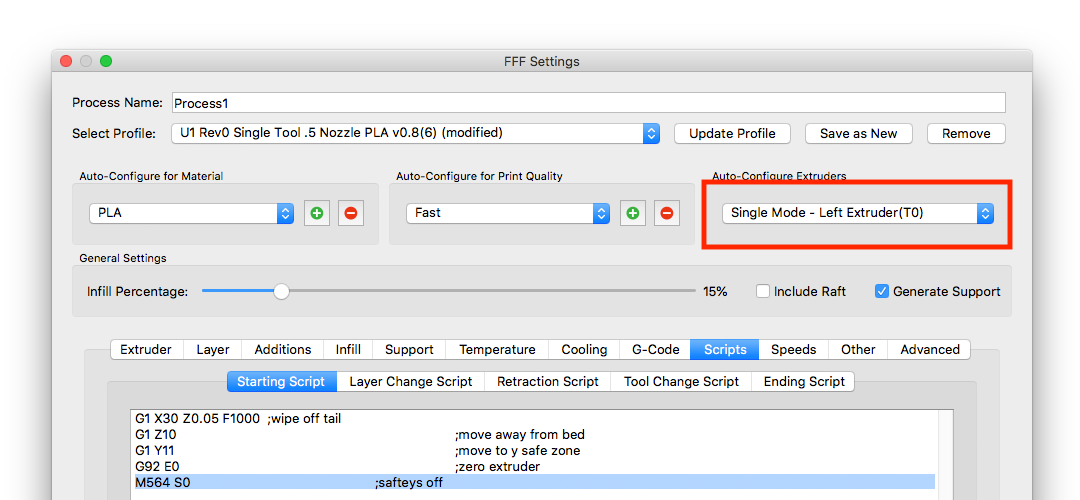
If you change the Auto-Configure Extruder options to another tool, you will need to repeat steps 3-5 because each auto-config option has its own starting script.
OctoPrint Adjustment:
Step 6
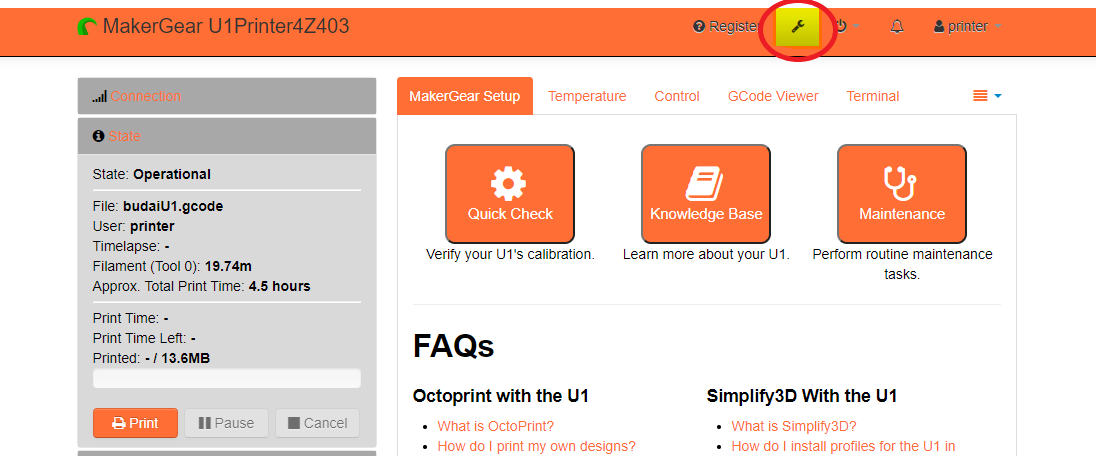
Now that we've edited the starting scripts within Simplify3D, we'll need to log into OctoPrint to make the adjustment for the larger build volume. Please go to the OctoPrint settings menu after you log in.
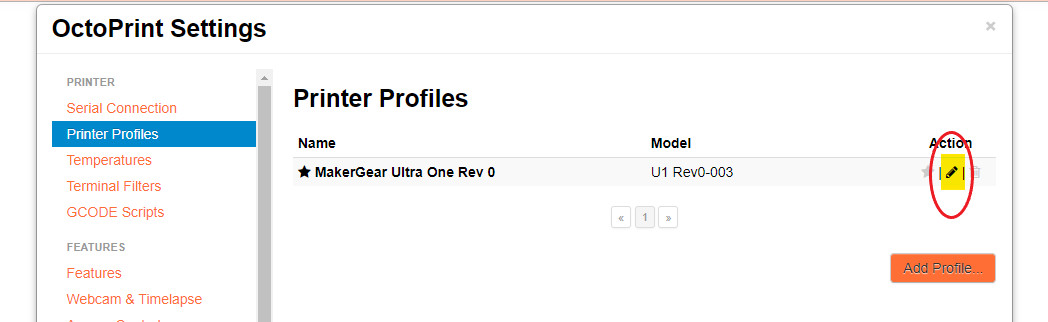
Step 7
Select the "Printer Profiles" tab and then click on the edit/pencil button.
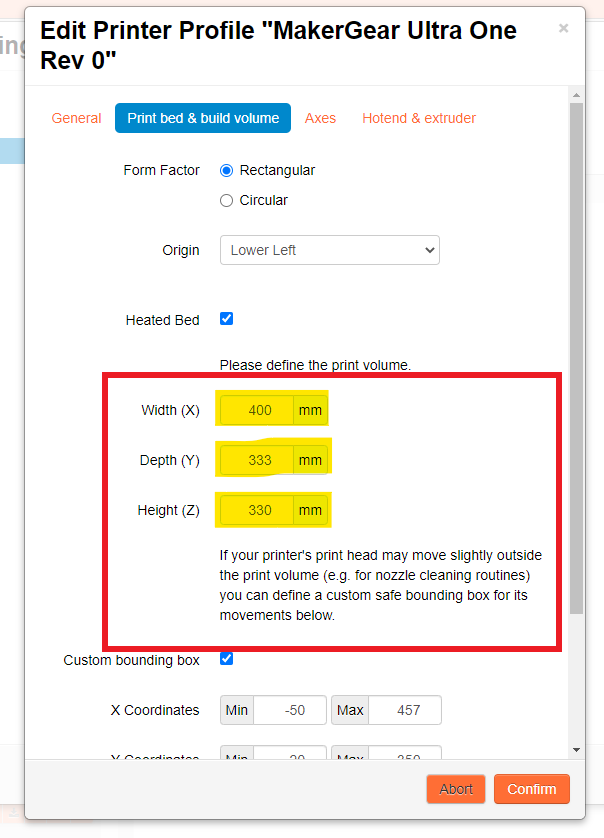
Step 8
We'll need to go to the "Print bed & build volume" tab and then replace the default print volume with the full capacity values:
- X: 406mm
- Y: 355mm
- Z: 350mm